Setting up Puppet module testing from scratch: Part III, Travis CI
by Alex Harvey
In Parts I & II we have looked at setting up Puppet-syntax, Puppet-lint, Rspec-puppet, and Beaker. In today’s post we look at how to automatically run these tests in the Travis CI build pipeline.
Note that Travis CI is only freely available for open source projects. If it’s the paid-for service you need, consult their pricing plan, or perhaps look at other options like Jenkins.
I must thank Mark McKinstry for showing me how to do this when he sent in a pull request to add the Travis CI configuration to one of my own Puppet Modules. One of the wonderful things about maintaining open source projects is that people sometimes turn up randomly and teach you things, and that’s what happened here.
Anyhow, let’s begin.
Setting up Travis CI
Changes to Gemfile
One of the advantages of using Travis CI is that it is easy to test Puppet modules against a matrix of Ruby and Puppet versions. This is a great advantage when maintaining a Puppet Forge module, as it allows us to easily test and advertise the versions of Puppet that we support, and we can ensure that our module is also tested against the standard set of Ruby versions.
But in order to test against different Puppet versions, our Gemfile needs to be modified to accept the Puppet Gem version as a variable.
Here’s what we’re going to do. We’ll delete the line …
gem 'puppet'
… and replace it with a block:
if puppetversion = ENV['PUPPET_GEM_VERSION']
  gem 'puppet', puppetversion, :require => false
else
  gem 'puppet', :require => false
end
So parameterised, we can now test our code against a specific Puppet version:
$ PUPPET_GEM_VERSION=3.8.6 bundle install
...
Installing hiera 1.3.4 (was 3.1.2)
Installing puppet 3.8.6 (was 4.4.2)
And our bundle is updated with an earlier version of Puppet. Now when I call bundle exec rake spec, I am testing the code using Puppet 3.8.6.
The .travis.yml file
Of course we want all of this automated in the Travis CI build pipeline.
We create a .travis.yml file in the root of the project with the following content:
---
sudo: false
language: ruby
cache: bundler
bundler_args: --without system_tests
before_install:
  - bundle -v
  - rm Gemfile.lock || true
  - gem update --system
  - gem update bundler
  - gem --version
  - bundle -v
matrix:
  include:
  - rvm: 1.9.3
    env: PUPPET_GEM_VERSION='~> 3.0'
  - rvm: 2.1.5
    env: PUPPET_GEM_VERSION='~> 3.0'
  - rvm: 2.1.5
    env: PUPPET_GEM_VERSION='~> 3.0' FUTURE_PARSER=yes
  - rvm: 2.1.6
    env: PUPPET_GEM_VERSION='~> 4.1.0' STRICT_VARIABLES=yes
  - rvm: 2.1.6
    env: PUPPET_GEM_VERSION='~> 4.2.0' STRICT_VARIABLES=yes
  - rvm: 2.1.6
    env: PUPPET_GEM_VERSION='~> 4.3.0' STRICT_VARIABLES=yes
  - rvm: 2.1.6
    env: PUPPET_GEM_VERSION='~> 4.0' STRICT_VARIABLES=yes
script: 'bundle exec rake validate && bundle exec rake lint && bundle exec rake spec
 SPEC_OPTS="--format documentation"'
notifications:
  email: false
The first thing to notice is that we pass --without system_tests in as bundler_args. This speeds up the CI build significantly, as it takes a long time to install all the Beaker-related Gems.
In the before_install section, we update the version of bundler and Ruby Gems used, and print out the version information for debugging purposes. In the unlikely event something goes wrong during the bundle install, this information will help to reproduce the issue.
The matrix defines our build matrix.
The “squiggle arrow” ~> is an abbreviation understood by Bundler. A string like ~> 4.0.0 is the same as >= 4.0.0 and < 4.1. A string like ~> 3.0 is the same as >= 3.0 and < 4.0. In other words, ~> 4.0.0 means “latest 4.0.x” and ~> 3.0 means “latest 3.x”.
These strings are passed into the Gemfile, which we modified above, via the environment variable $PUPPET_GEM_VERSION.
The environment variable $STRICT_VARIABLES sets the strict_variables configuration option, causing Puppet to fail if an unknown variable is referenced.
Also note the Ruby versions I’ve chosen in the matrix. Puppet Enterprise has historically shipped with Ruby versions 1.9.3, and lately, 2.1.x. See this link here for more information.
Finally, the script: line specifies the command line to use to run the builds. All of these Rake tasks have been discussed in Part I; the :validate task checks all the project’s files for syntax errors; the :lint task runs Puppet-lint; and the :spec task runs the Rspec-puppet tests.
Build status in the project README
Next, it is typical to advertise the Travis CI build status by adding a line at the top of the project’s README file:
[](https://travis-ci.org/alexharv074/puppet-spacewalk)
Once this is committed and pushed back to Github, the project’s README page will show a build status that looks like this:
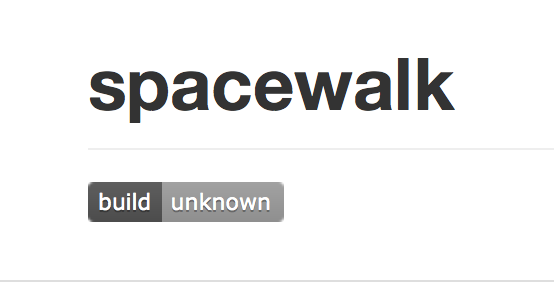
At this stage the build status is “unknown” as we haven’t activated Travis CI for this repository yet.
Activating the build in Travis CI
If you have not used Travis CI before, you will need to sign up, which is free for open source projects.
Click the “build, unknown” link and you’ll be taken to Travis CI, where you’ll see something like:
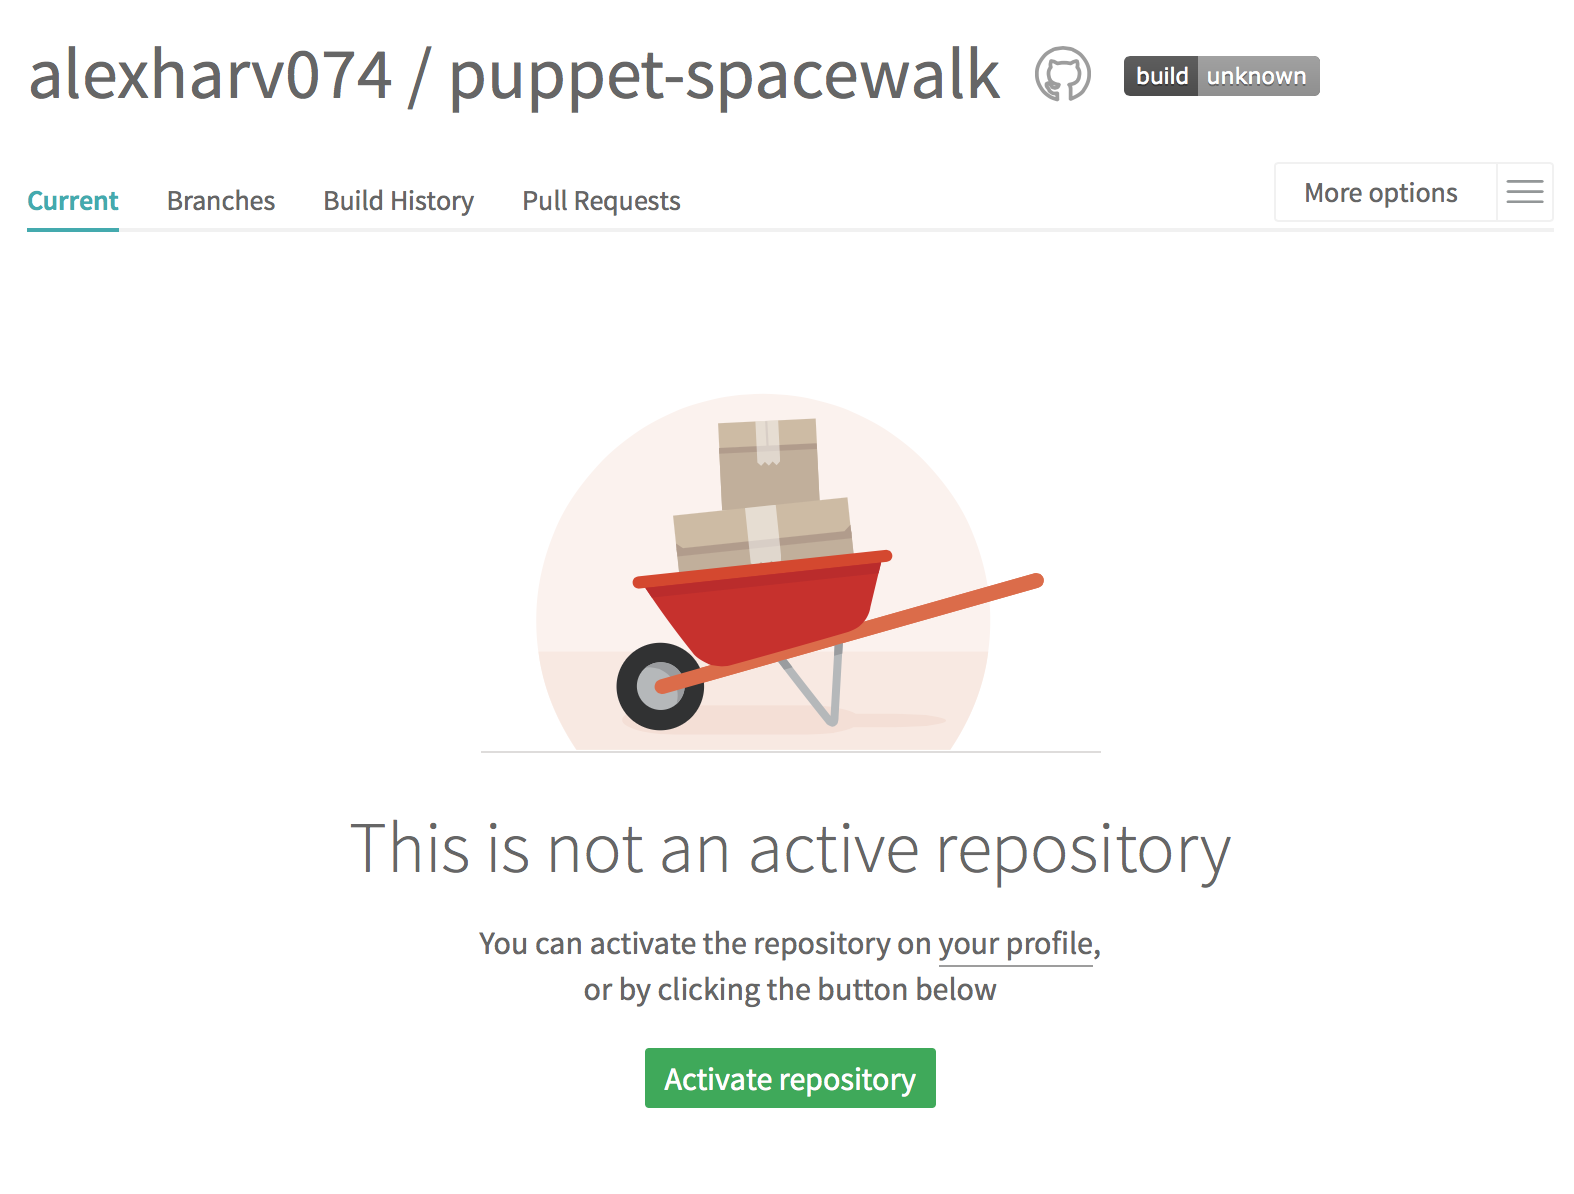
Click the Green “Activate repository” link, and the repository will then be active.
Next, you’ll need to actually push some changes to trigger the first build. Travis CI is only triggered by commits that are pushed after the repository is activated. Typically I just run a git commit –amend, add a space or something to the commit message, and then do a forced git update.
Click on the link on the left corresponding to your git project, and you’ll see the build status:
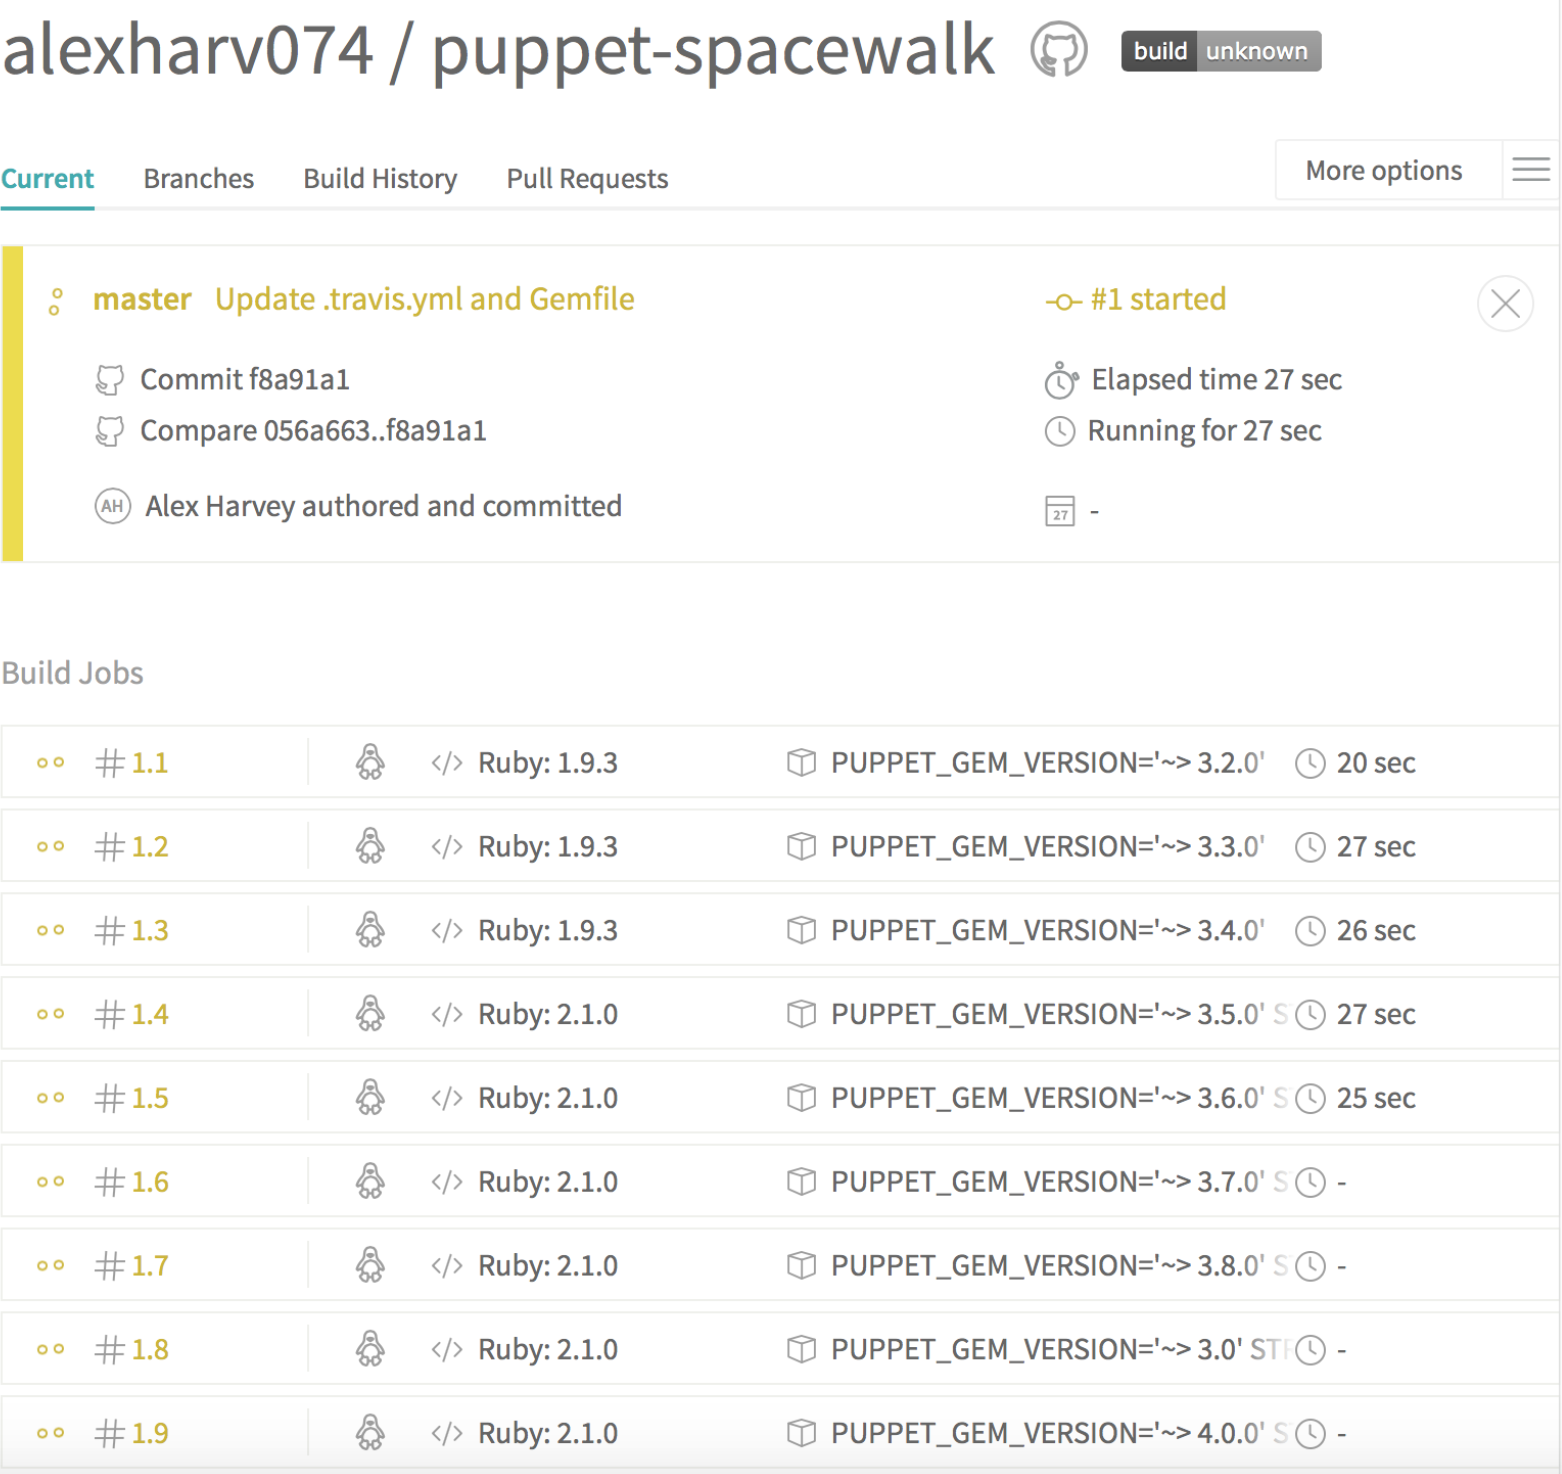
If all is well, you’ll end up soon enough with a screen that looks something like this:
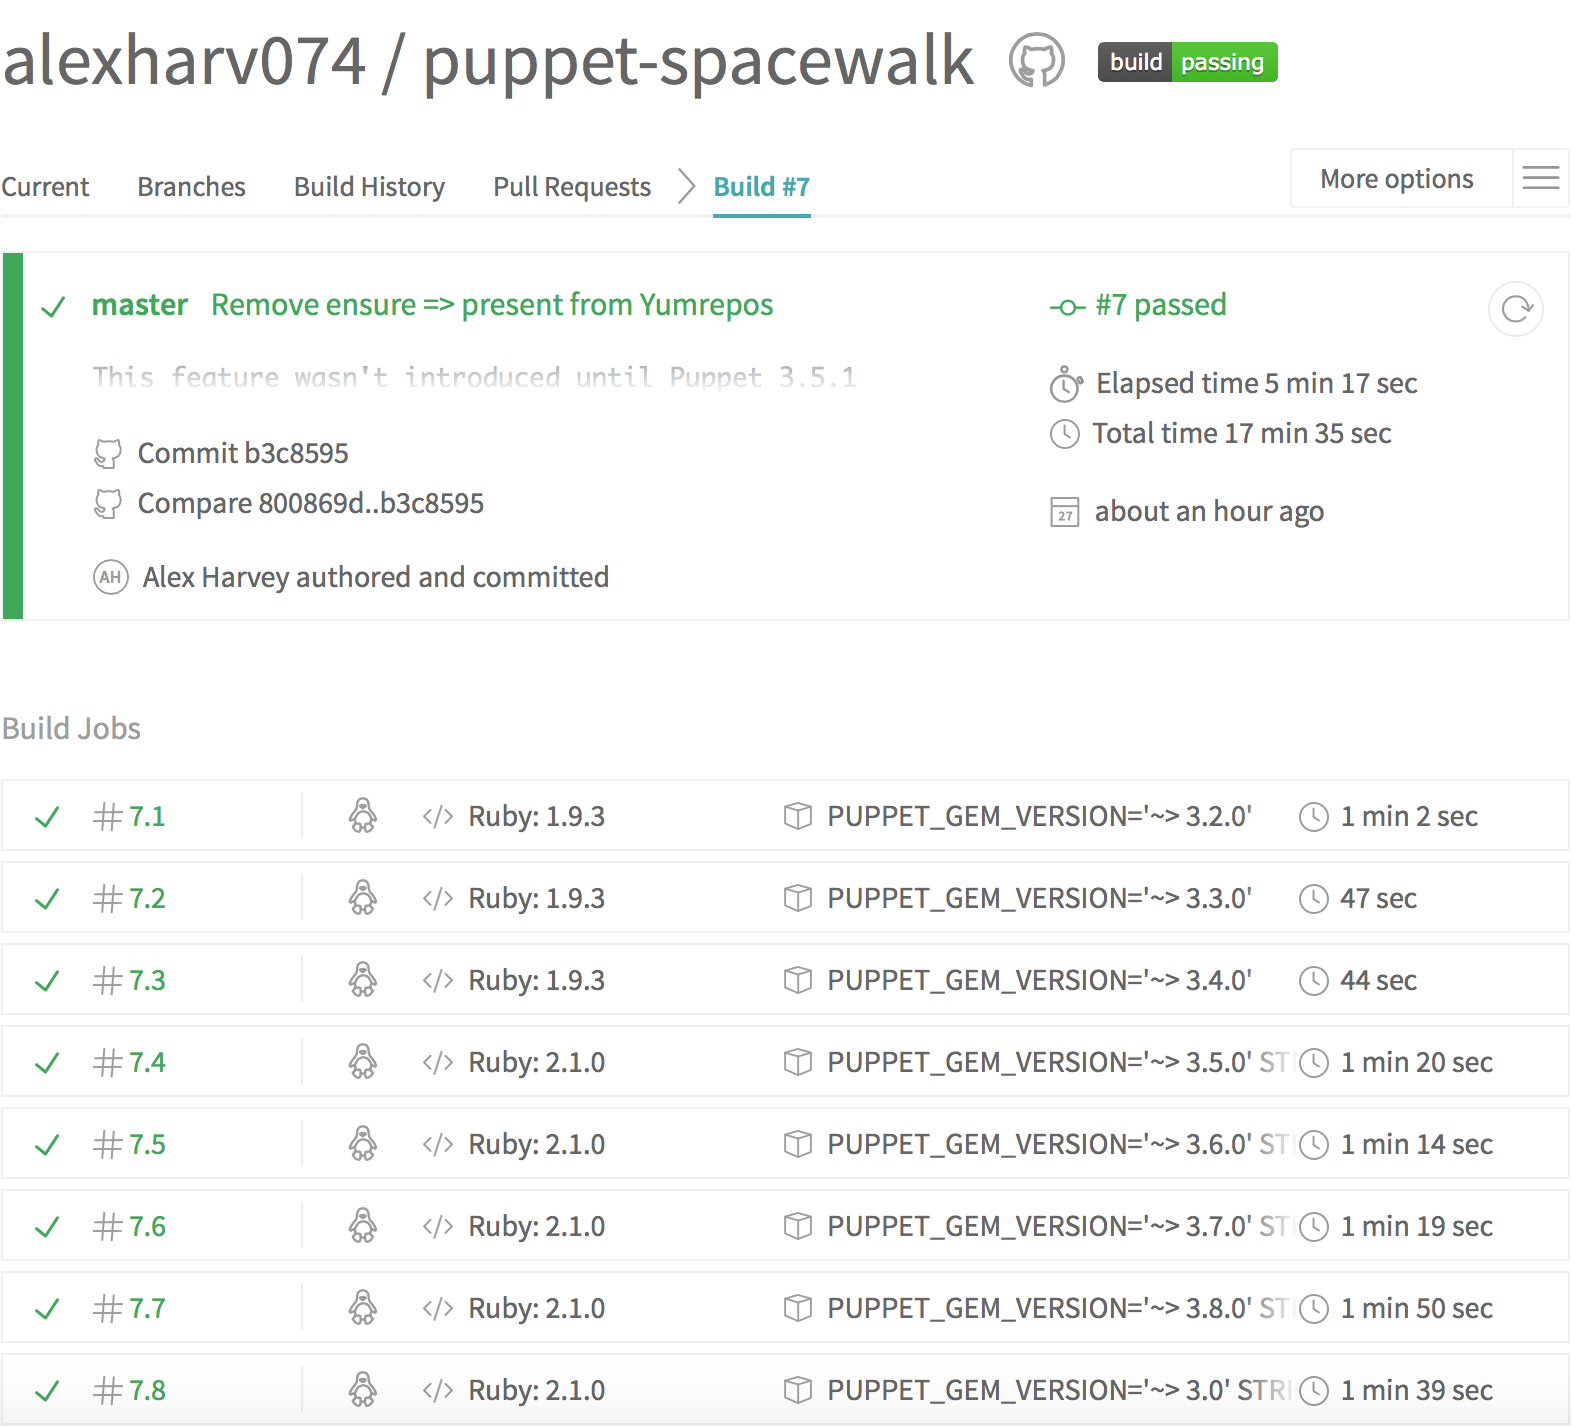
The perceptive reader may notice that I’ve shown build #7 as green and passing there, whereas it was build #1 in the screen shot above. Well, it turned out I had some debugging to do; we’d unknowingly used a feature that was introduced in Puppet 3.5.1. And I certainly wouldn’t have known if it weren’t for these tests running in Travis CI.
Well, that’s it for Part III. In the next part we’ll look at how to automatically publish the modules on the Forge using Puppet Blacksmith.
tags: puppet - travis